DIY Cabinet Painting: Dos and Don'ts
Last Updated: March 15, 2024
How to Avoid Common Cabinet Painting Mistakes by Spray 'n Coat a Boise Cabinet Painting Company.
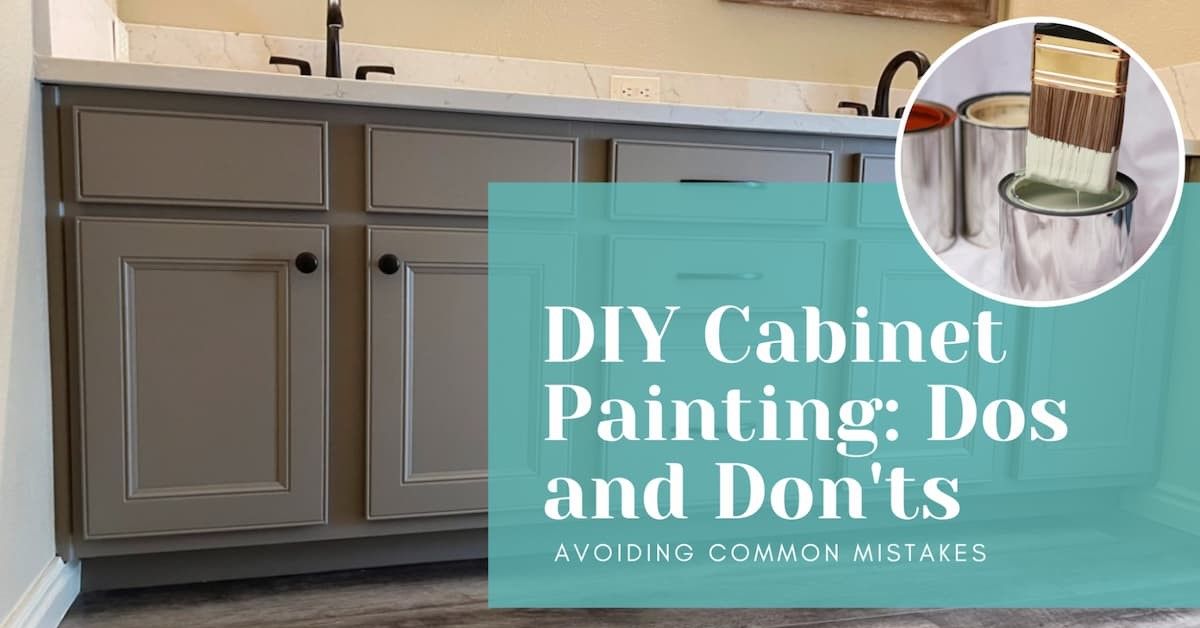
Cabinets are one of the most important elements in a kitchen or bathroom, and they can make a huge difference in the overall aesthetic and functionality of the space. However, replacing them can be expensive and time-consuming, which is why many homeowners opt for DIY cabinet painting as a cost-effective alternative. If you're thinking about taking on this project yourself, there are a few things you should keep in mind to ensure a successful outcome.
DO: Choose the Right Paint and Primer
One of the most important factors in achieving a professional-looking finish is selecting the right paint and primer for your cabinets. Look for a high-quality, durable paint that is specifically formulated for cabinets, as this will ensure that it can withstand daily wear and tear, as well as moisture and grease buildup. Additionally, be sure to choose a primer that is designed for use on cabinets, as this will help the paint adhere properly and prevent chipping or peeling.
DON'T: Skip the Prep Work
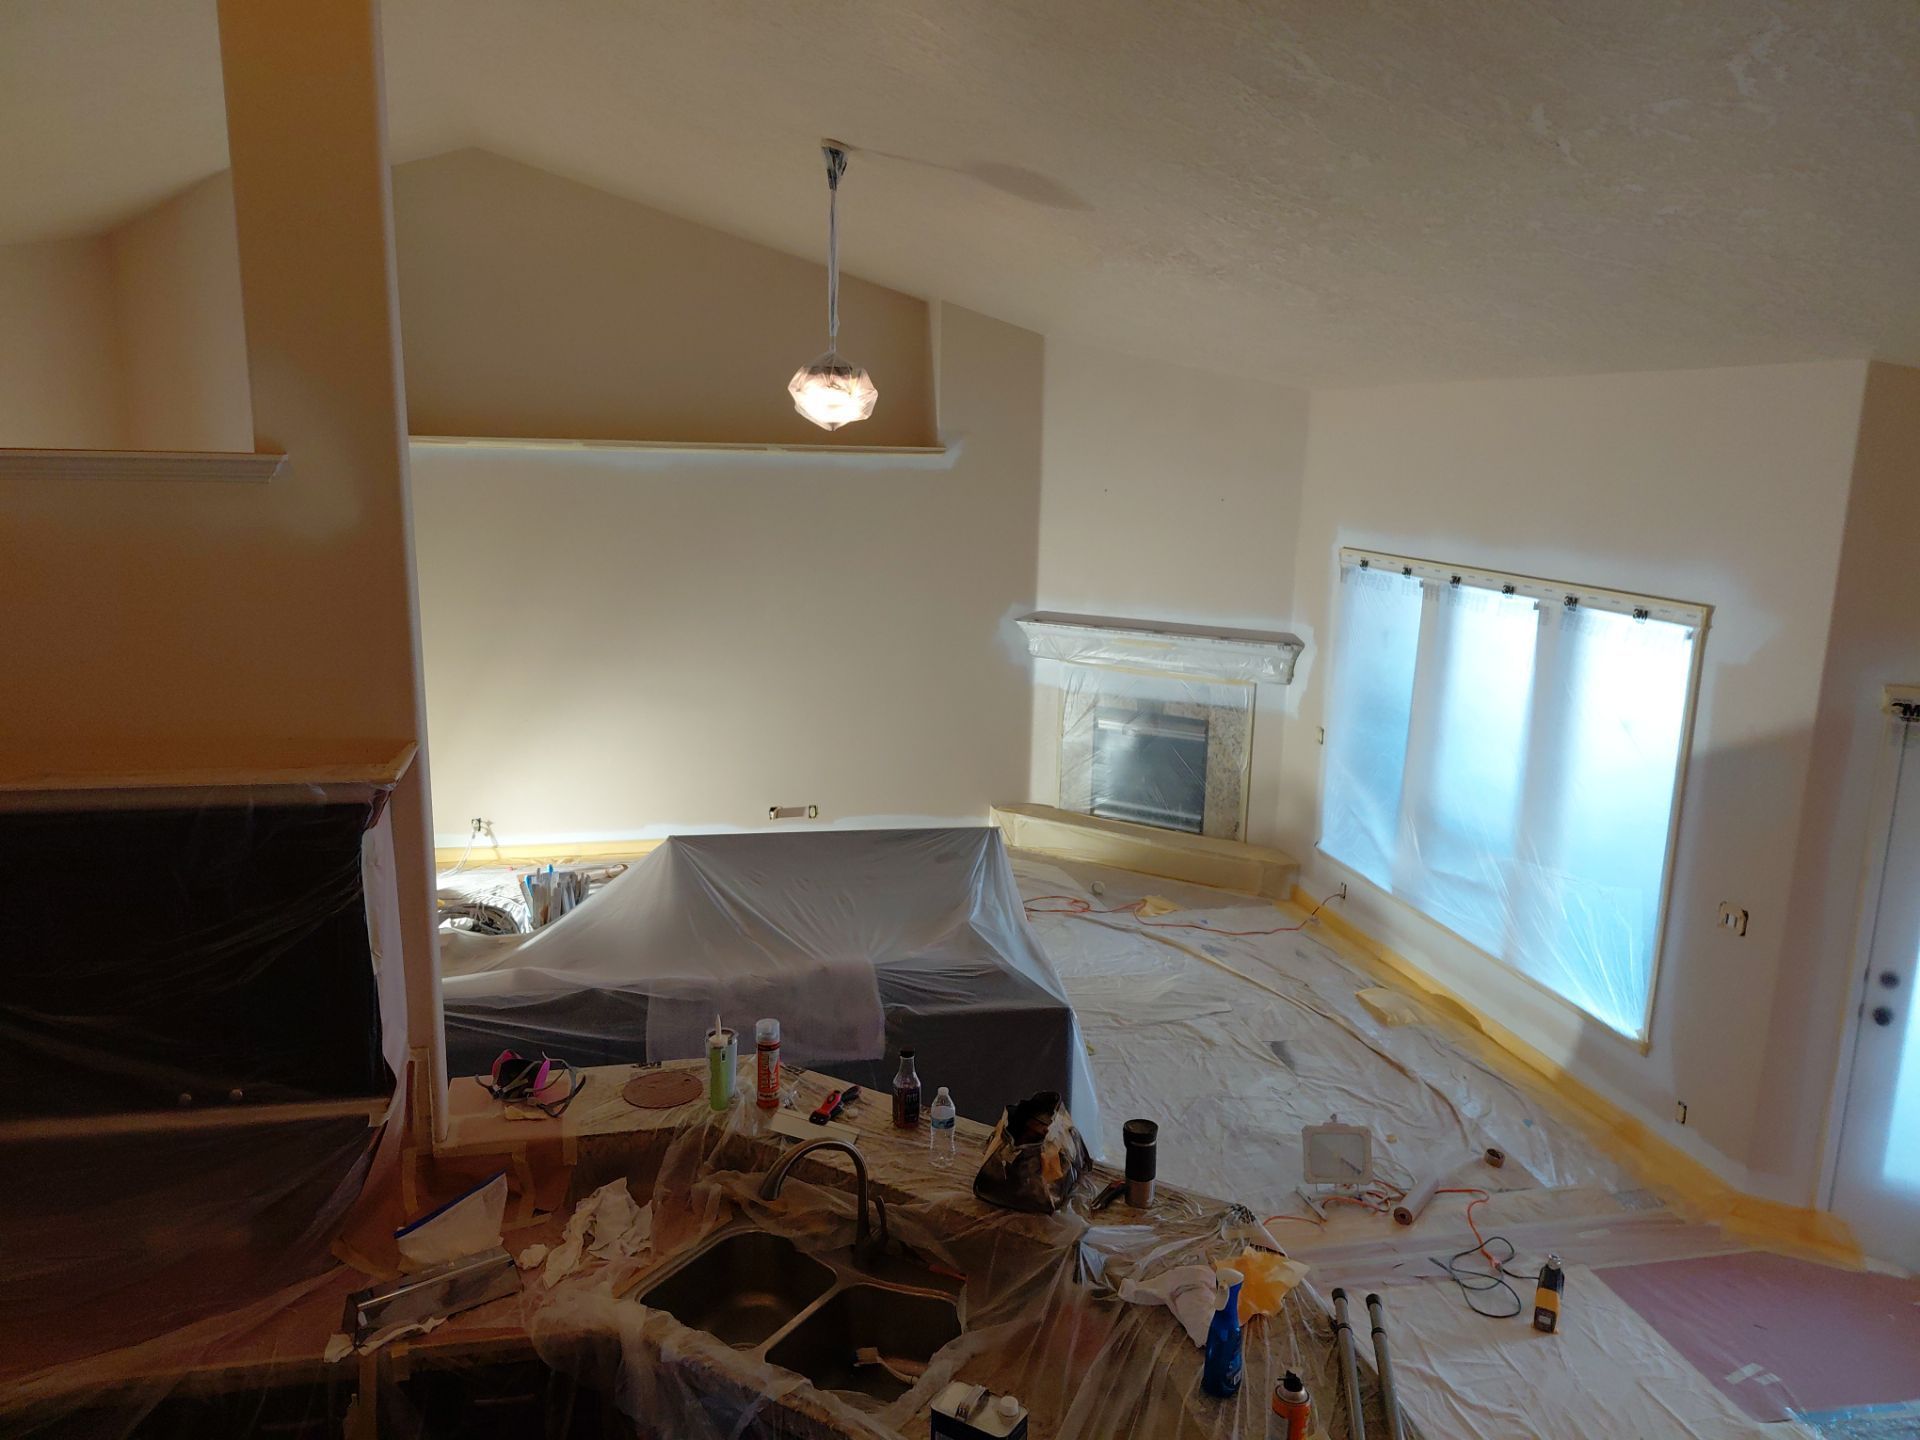
Preparation is key when it comes to cabinet painting, and skipping this step can result in a less-than-perfect finish. Before you start painting, make sure to clean your cabinets thoroughly to remove any grease or grime that may have accumulated over time. Sanding is also an important step, as it helps the paint adhere better and creates a smooth surface for the paint to be applied. Finally, be sure to tape off any areas you don't want to paint, such as hinges or hardware.
DO: Use the Right Tools
Using the right tools can make a huge difference in the outcome of your cabinet painting project. Invest in high-quality brushes and rollers, as these will help you achieve a smooth, even finish. Additionally, consider using a paint sprayer, as this can save you time and effort, and also result in a flawless finish.
DON'T: Rush the Process
Cabinet painting is not a quick project, and rushing the process can result in mistakes and a less-than-perfect finish. Take your time, and make sure to allow each coat of paint to dry completely before applying the next one. Additionally, be patient when it comes to sanding and cleaning between coats, as this will help ensure a smooth, even finish.
Why it's sometimes best to hire a professional:
While DIY cabinet painting can be a great way to save money and achieve a professional-looking finish, it's not always the best option for everyone. Here are a few reasons why you might want to consider hiring a professional:
- Lack of experience: If you have little to no experience with painting, it can be difficult to achieve a flawless finish on your cabinets. A professional painter will have the skills and expertise necessary to get the job done right.
- Time constraints: Painting cabinets can be a time-consuming process, and if you have a busy schedule, it may be more convenient to hire a professional to do the work for you.
- Health concerns: Painting cabinets can expose you to fumes and chemicals, which can be harmful if inhaled in large quantities. If you have health concerns, it may be safer to hire a professional who has the proper safety equipment and training.
In conclusion, DIY cabinet painting can be a great way to update your kitchen or bathroom without breaking the bank. However, it's important to follow best practices, such as choosing the right paint and primer, prepping properly, using the right tools, and taking your time. If you're not comfortable taking on this project yourself, or if you have concerns about your ability to achieve a professional-looking finish, it's always best to hire a professional.
If you're ready to tackle your cabinet painting project yourself, be sure to keep these dos and don'ts in mind, and remember whatever you decide, updating your cabinets can be a great way to transform your space and give it a fresh, new look.
*The information in this article was compiled from a variety of sources and is intended to provide helpful tips only